Virtual Health Care

Virtual health care allows physicians and patients to use telemedicine and digital tools to remotely communicate and interact with each other in real-time. Essentially, telemedicine refers to long-distance patient care. This can involve addressing patient concerns, providing medical advice, and collaboratively developing a comprehensive treatment plan.

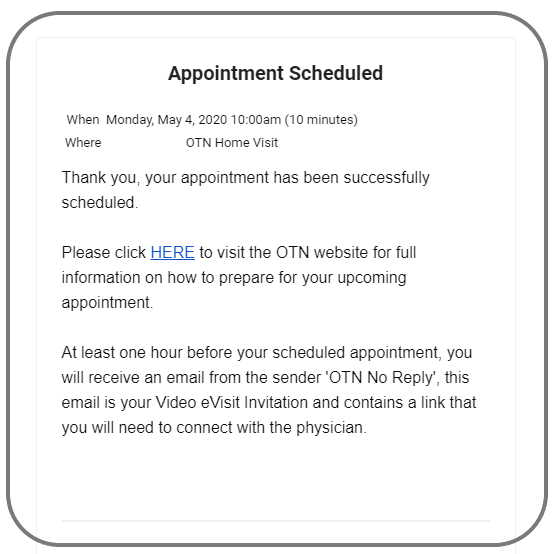
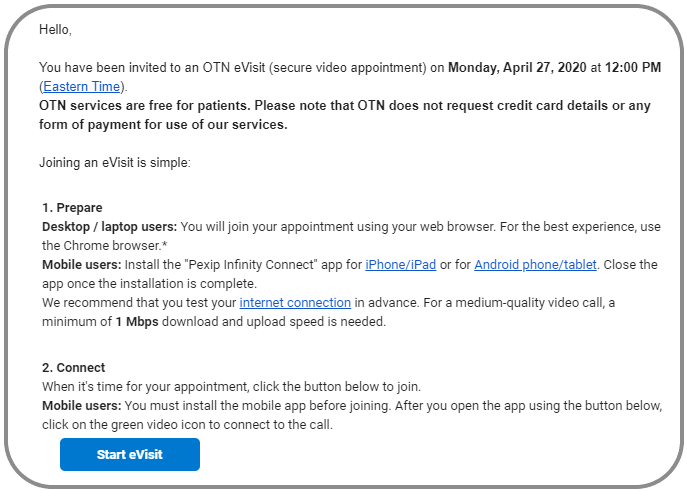
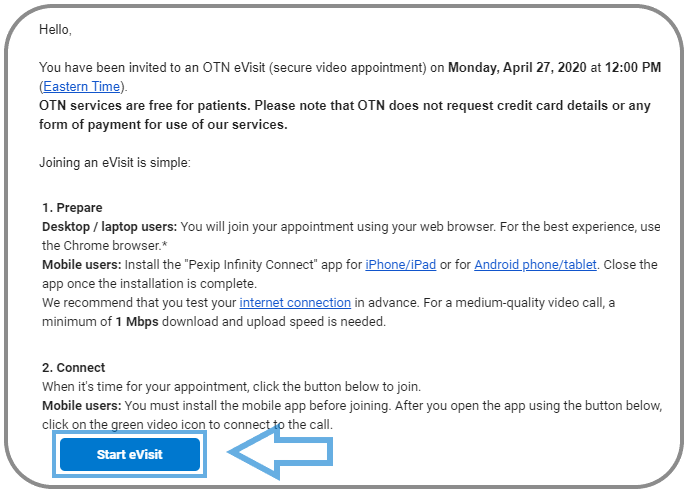
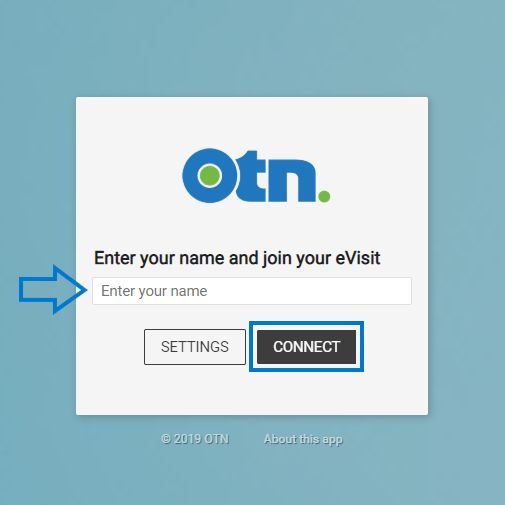
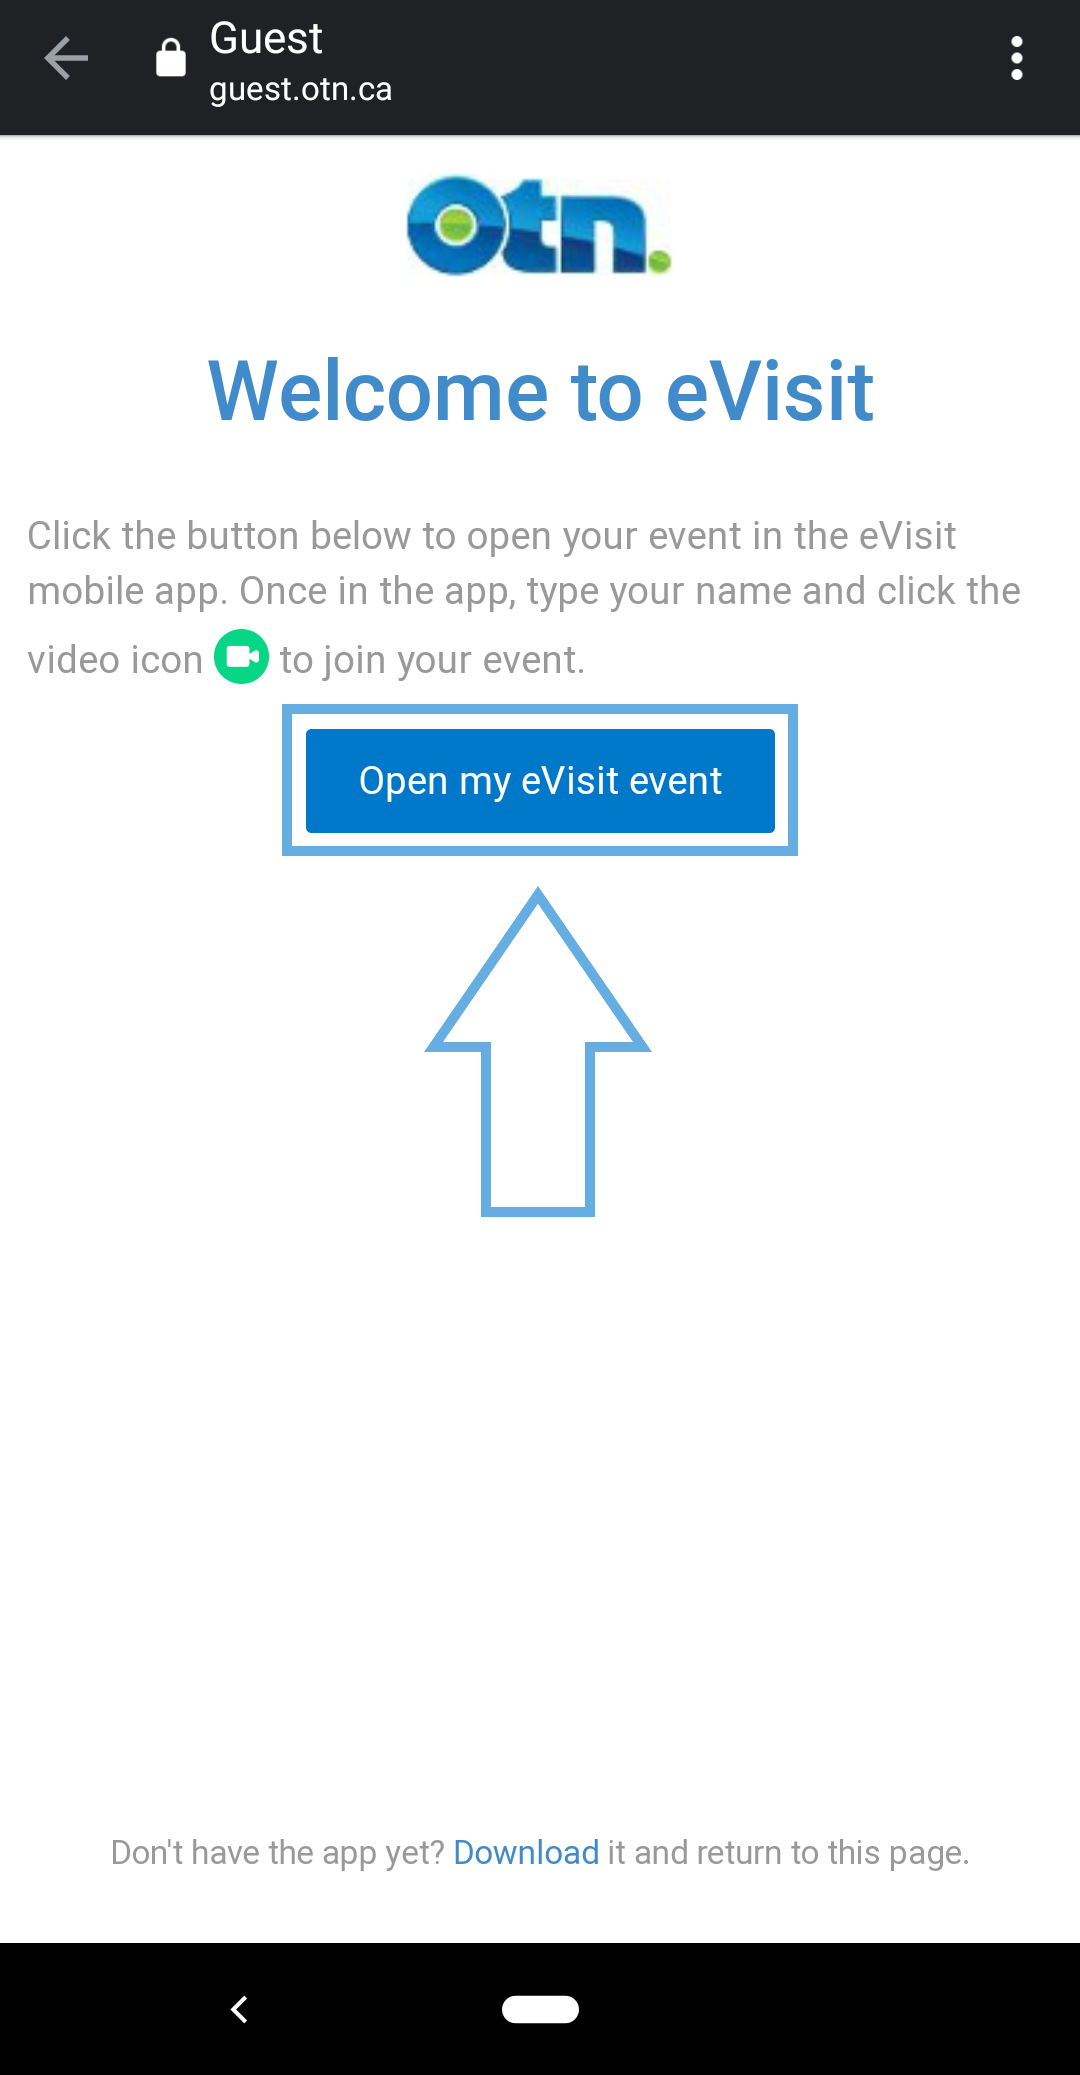
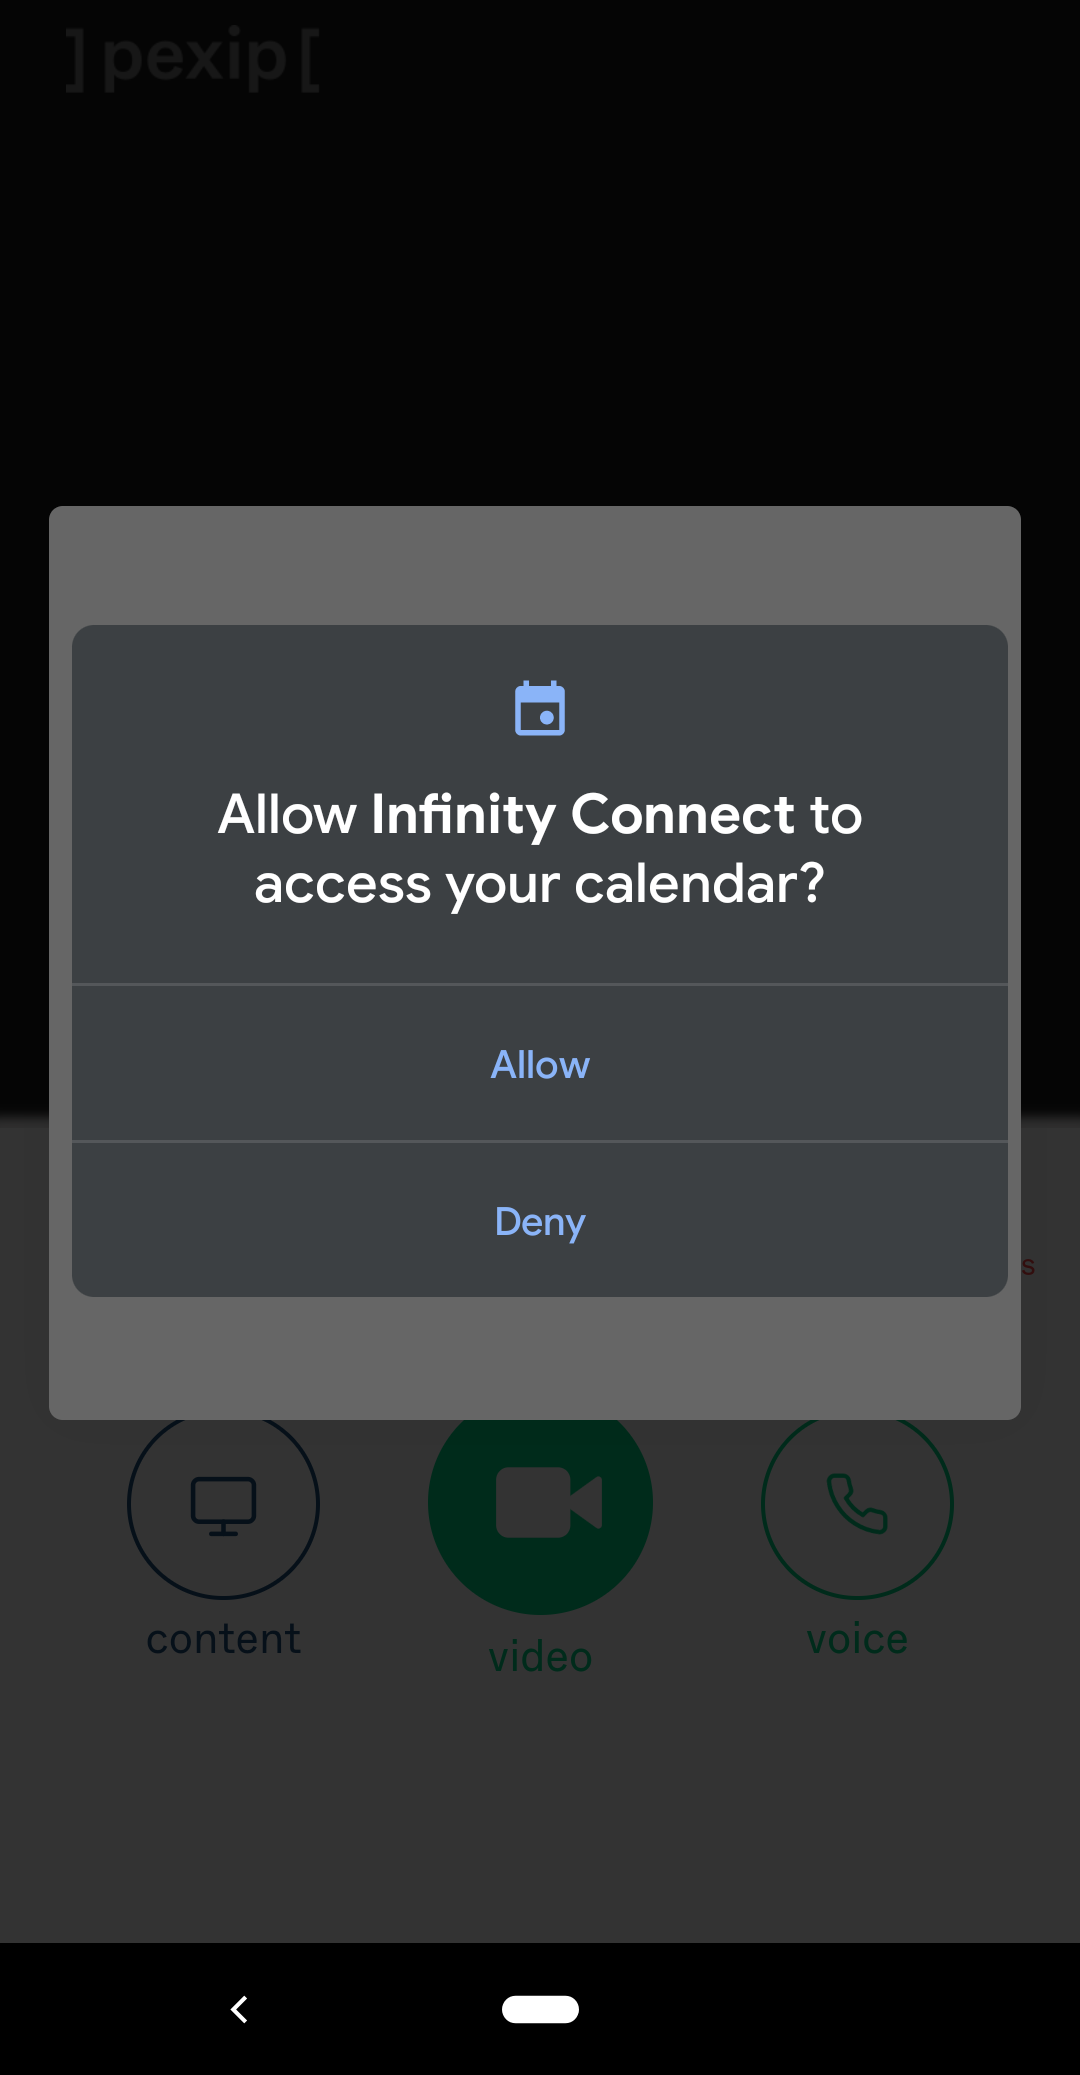
At trueNorth, we use a secure telehealth platform, Ontario Telemedicine Network (OTN), to schedule and conduct e-consultations (eVisits) between our physicians and patients. An eVisit is a private and confidential ‘face-to-face’ appointment — similar to an in-office health care appointment, this e-consultation will only be between you and your health care provider. You may attend this appointment from wherever you are.


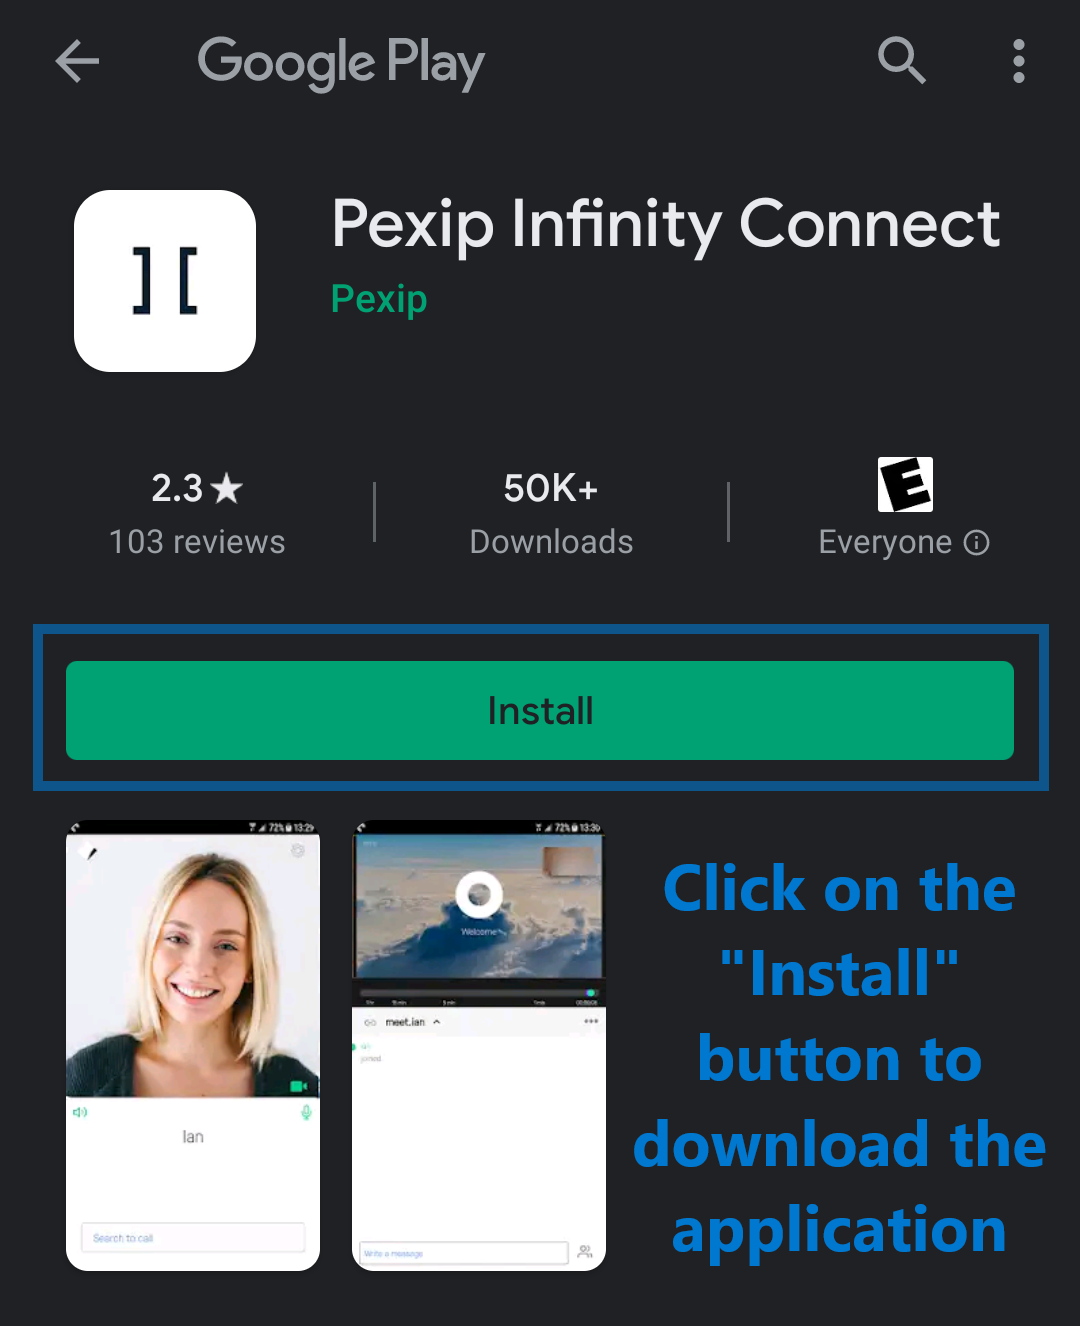
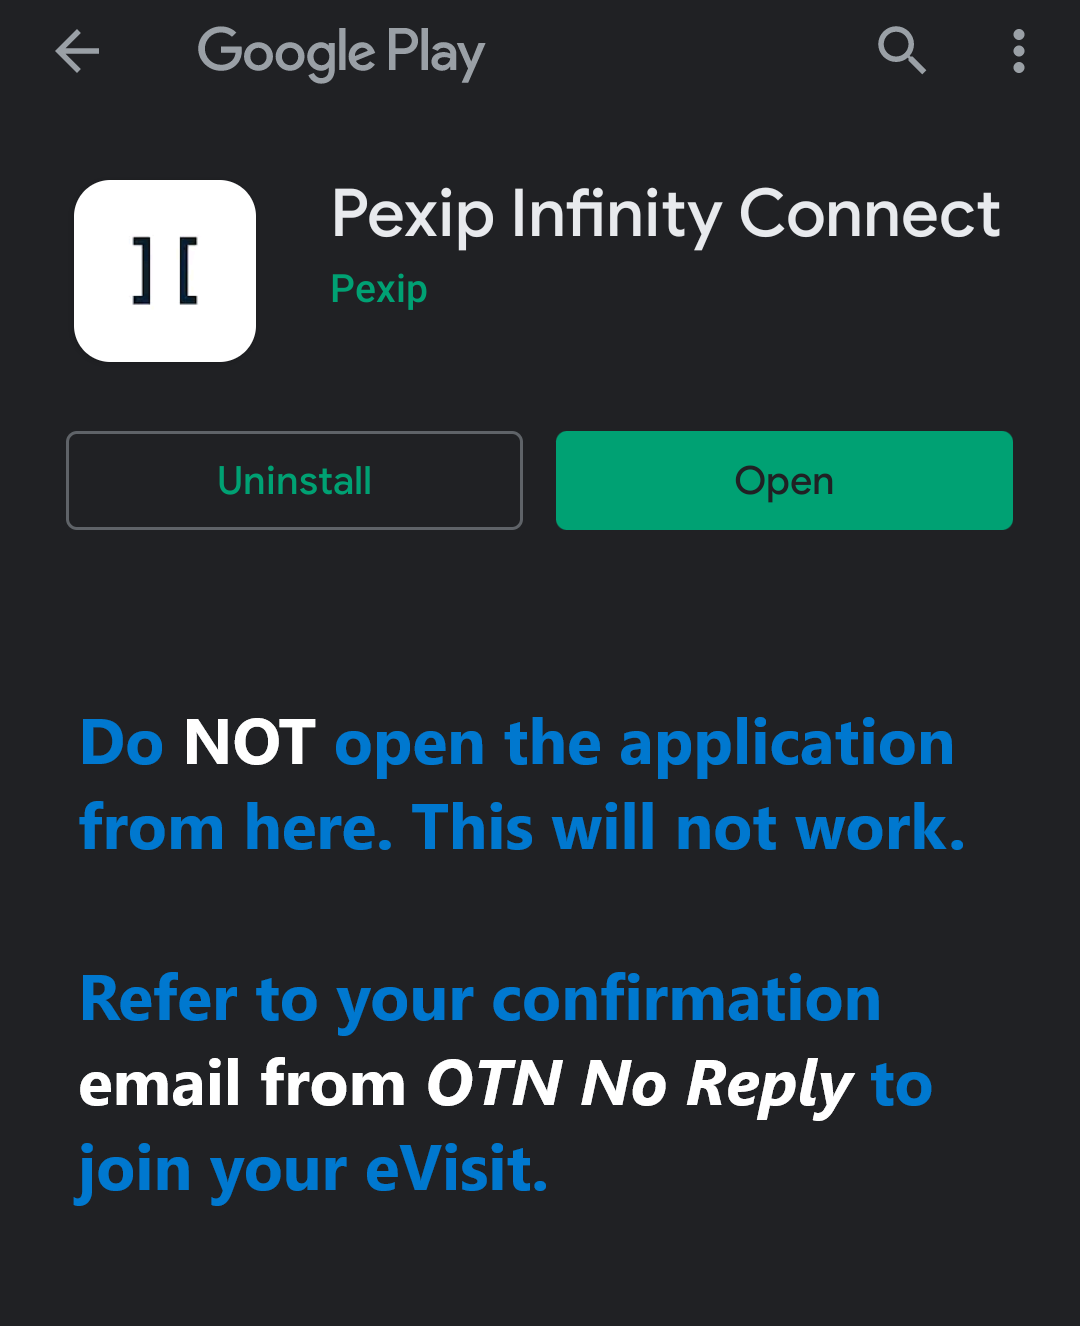
Below is an in-depth guide on how you can best prepare for your eVisit.
You may also refer to the OTN eVisit Help Centre for detailed instructions.


OTN Video eVisit: Setting Up

Follow these steps in order to prepare for your virtual visit.


1. Schedule your appointment

Schedule your appointment by completing all of the steps within the online scheduling tool. Failure to select the correct appointment type will result in your appointment being cancelled.


2. Receive your Acuity email confirmation

You will receive a confirmation email. This email will be received from “Casel Medical Services” (scheduling@acuityscheduling.com).


Your Acuity confirmation email will look like this:

 
Acuity - Appointment Confirmation - Edited 2.png
 

3. Receive your OTN email invitation

At least one hour before your scheduled appointment, you will receive an email invitation. This email will be received from “OTN No Reply” (do-not-reply-otninvite@otn.ca).


Your OTN email invitation will look like this:

OTN Video eVisit Email.png
 

4. Preparing for your eVisit

You can join your appointment using:

1. your computer (desktop or laptop)

If you are planning to use your computer for your eVisit, you can simply use your web browser. It is best to use Google Chrome web browser. You will not need to download any applications.

When it is the time of your scheduled appointment, open the OTN email invitation and click on the “Start eVisit” button in order to connect with a physician.


2. your smartphone or tablet

If you are planning to use your smartphone or tablet for your eVisit, you will have to download an application for your eVisit.

Make sure to download the “Prexip Infinity Connect” application before your scheduled appointment using the appropriate links below:

iPhone/iPad

Android/Tablet

The links to download the Prexip Infinity Connect application is also provided within your OTN email invitation.


Click on the appropriate link in your OTN email invitation from OTN No Reply to download the Prexip Infinity Connect application.

It is important that you download the application before your eVisit.

Once you click on the link, the app store will open and you can download the application to your device.

Once the application is downloaded, do NOT open the application from the app store. This will not work.

Instead, you need to click on the “Start eVisit” button in your OTN invitation email to join your eVisit.

OTN eVisit - Prexip Install .png
OTN eVisit - Prexip Open.png
 

5. Test your internet connection

It is a good idea to test your internet connection before your eVisit. A minimum of 1 Mbps download and upload speed is recommended.


OTN Video eVisit: Beginning Your eVisit


A. Beginning your eVisit with your computer


1. Open your OTN email invitation received from “OTN No Reply” (do-not-reply-otninvite@otn.ca). To begin your eVisit, click on the blue Start eVisit button within your email. The OTN Log In web browser will open.

 
OTN eVisit - Start eVisit.png

2. Type your name within the Enter your name field and then click on the Connect button.


3. Select your camera and microphone pop-up will appear. You may leave the default devices selected or change them as desired, and then click Start.

Computer - OTN Log In - Edited.png
Computer - OTN Camera & Microphone Settings - Edited.png
 

4. Once you have successfully connected, a video panel will appear within your web browser window.

If you are the first participant to enter the conference, you will see a “Waiting for the host…” image and your self-view.

If the other participant has already joined, you will see your self-view as well as the other participant.

 
Computer - OTN Waiting for the Host - Edited.png

5. To end the conference:

Click on the red End Call button.

Click Disconnect within the confirmation pop-up.

Close the web browser window.


See detailed instructions at the OTN eVisit Help Centre

Computer - OTN End the Conference - Edited.png
 

B. Beginning your eVisit with your smart device


1. Open your OTN email invitation received from “OTN No Reply” (do-not-reply-otninvite@otn.ca).

To begin your eVisit, click on the blue Start eVisit button within your email. The Welcome to eVisit screen will open. Tap the Open my eVisit event button.

The Pexip Infinity Connect application will open. A Welcome pop-up will appear. Type your name within the Type your name here field and then tap on the OK button.

 
Screenshot - 1 - Open my eVisit event - Edited.png
Screenshot - 3 - Welcome - Edited.png
 

2. The Pexip Infinity Connect application will open a couple of “permissions" pop-ups. Tap Allow to permit access to your camera, microphone, and calendar. (If you have previously joined an eVisit, the permissions pop-ups will not appear.)

Screenshot - 2 - Access your calendar - Edited.png
Screenshot - 4 - Take pictures and record video - Edited.png
Screenshot - 5 - Record audio - Edited.png
 

3. A You’re invited to video screen appears with your self-view and three options. To join the eVisit, tap the green Video button.

 
Screenshot - 6 - You're invited to - Edited.png
 

4. Once you have successfully connected, a video screen will appear.

If you are the first participant to enter the conference, you will see a “Waiting for the host…” image and your self-view.

If the other participant has already joined, you will see your self-view as well as the other participant.

 
Screenshot - 7 - Waiting for the host - Edited.png
 

5. To end the conference:

Tap on the red End Call button.

Click Disconnect within the confirmation pop-up.

Close the application.


See detailed instructions at the OTN eVisit Help Centre

 
Screenshot - 8 - Disconnect - Edited.png